
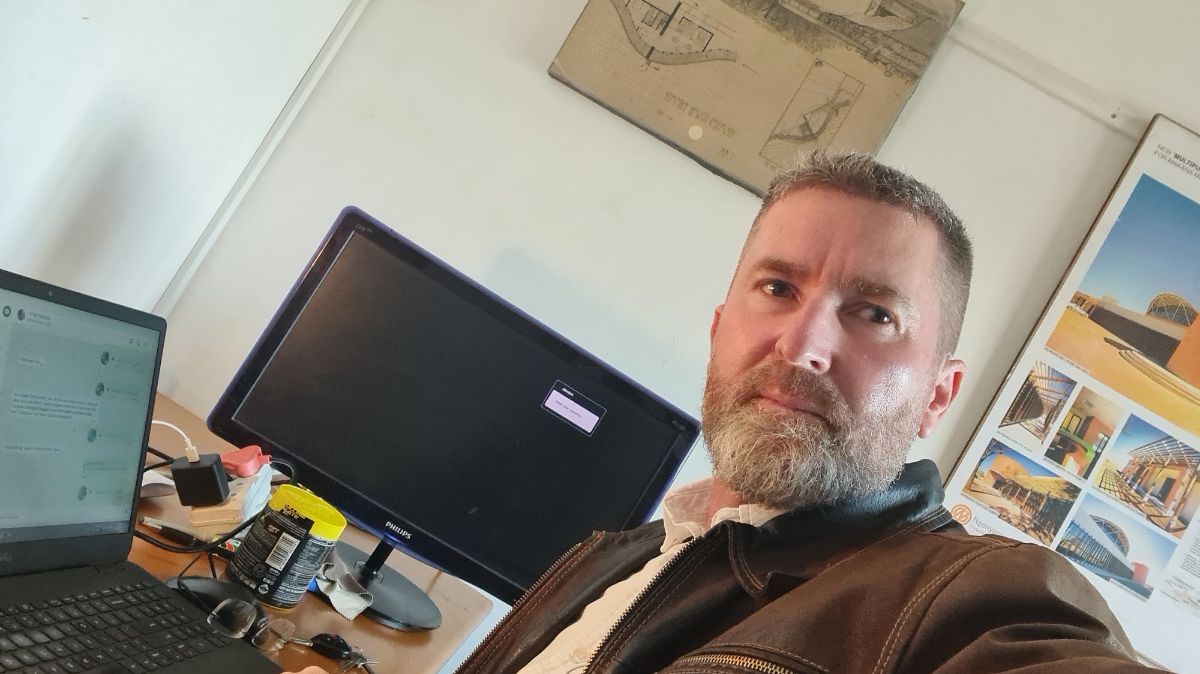
Eight short lessons I keep coming back to — on design, on running an office, and on getting through a career with your sanity intact.
I graduated from Nelson Mandela University in 1993. That’s more than thirty years of drawing, arguing with municipalities, standing on building sites in the rain and running an architectural practice in the Eastern Cape. Over the past few months I’ve been recording short videos on some of the things that time has taught me. None of them are about building regulations or floor areas. They’re about the habits of mind that, in my experience, make the difference between a practice — and a life — that works and one that doesn’t.
Here they are, gathered in one place.
1. Know what you want

Ask anyone whether they know what they want and they’ll say “of course.” But listen carefully to the answer and it’s almost always a list of what they don’t want.
In politics we don’t want corruption, we don’t want sewage running down the street, we don’t want potholes. In our own lives we say we want a holiday — but what we really mean is that we don’t want to be at our desks. That’s not a want. That’s an escape.
Architects are actually well trained in this. Our whole job is to work out, in great detail and ahead of time, exactly what it is we do want: plans, sections, elevations, window and door schedules, ironmongery schedules. The detail is what makes it possible to bring the thing into the world.
But even with buildings it’s easy to slip back into the negative. We don’t want something illegal. We don’t want something a burglar can break into. We don’t want the roof to leak. Fine — once all of that is dealt with, what do you want? What is the beautiful thing this building needs to be to strike that other chord?
There’s so much noise about what we don’t want that there’s hardly time left to ask the real question. So take the time. What do you want?
2. File it so someone else can find it
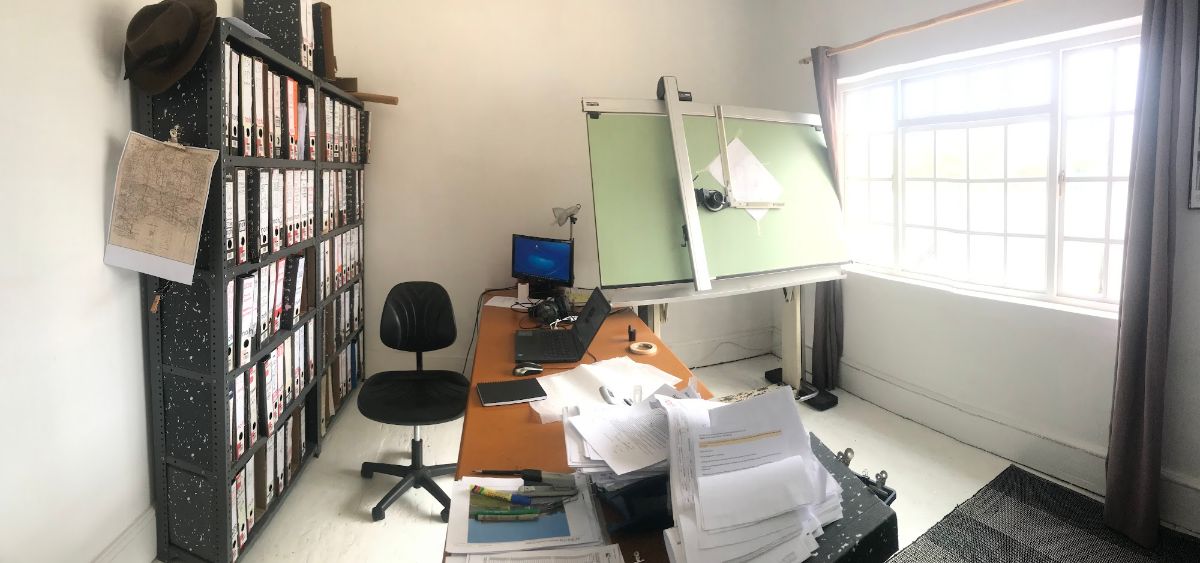
People sometimes ask what the difference is between working on your own and working in a team. There are many, but here’s a simple one: when you work alone you can put things anywhere, because you’ll remember where they are. In a team, you have to put things where someone else will find them.
In our office everything that arrives on paper — a municipal “jacket” of approved plans, a comment sheet, an informal town planning enquiry — gets scanned the day it comes in. It goes into the project folder, which is always arranged the same way (documents, drawings, PDFs, proposals), and it’s saved with a searchable name that includes what it is and the erf number.
Yes, this is boring. I know. But do you know what’s more boring? Spending two days hunting for a document you know you had somewhere — usually because the colleague who had it has moved on to another job and you’ve picked the project up from where they left off.
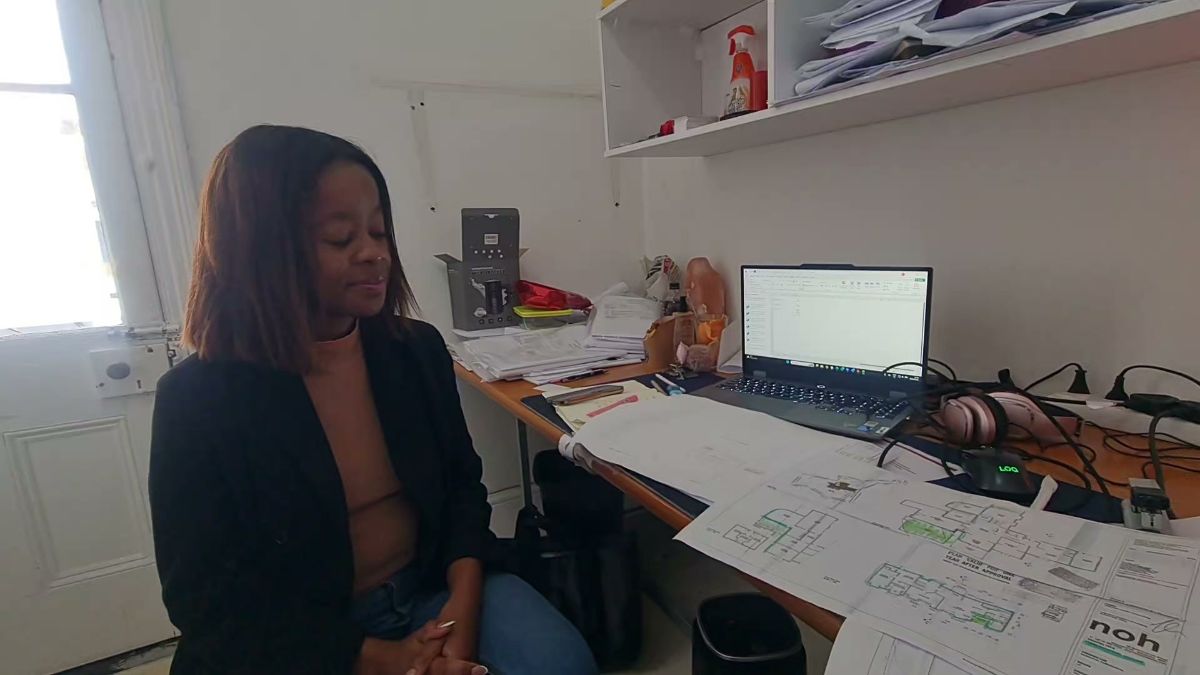
Good filing is a form of respect for the people you work with.
3. Speak your mind
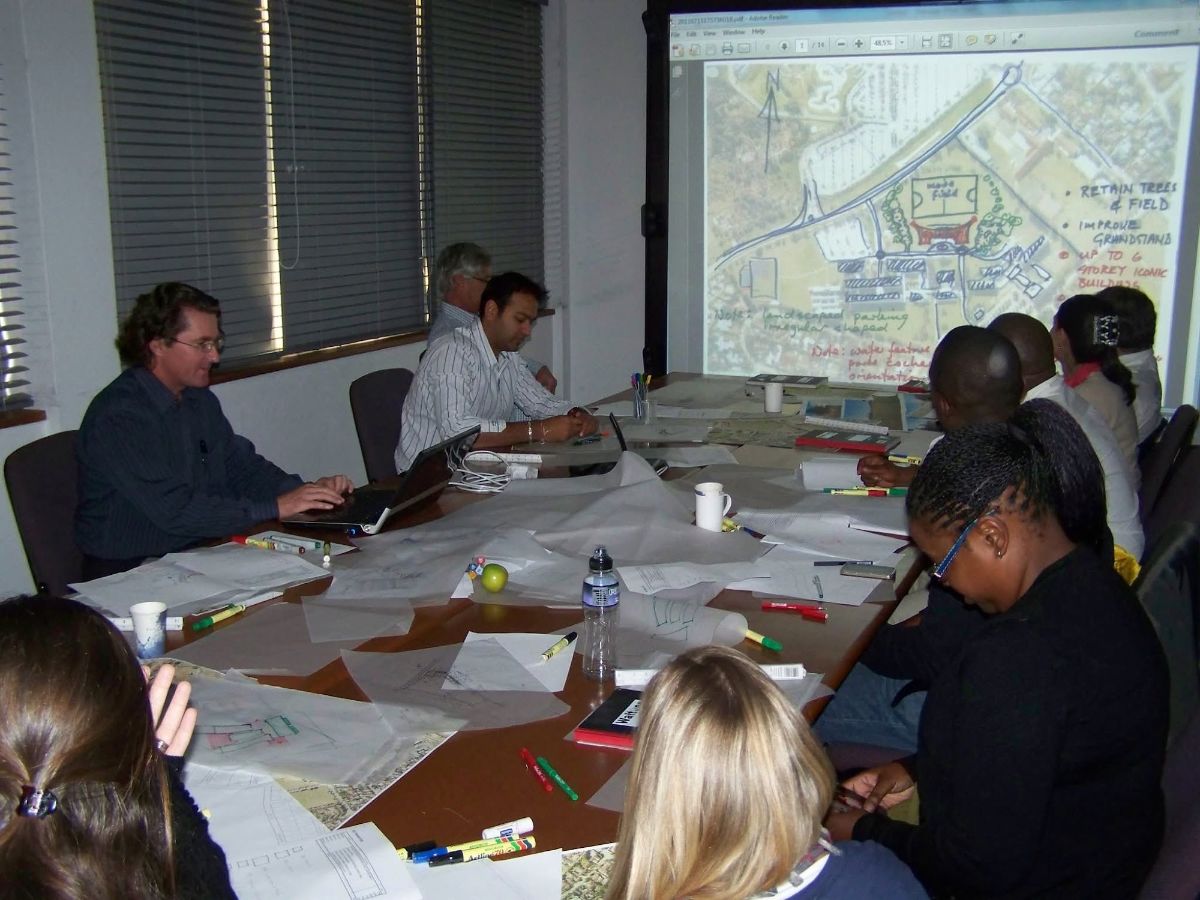
Develop opinions. Develop preferences. Know what you like and what you don’t, and live it out.
It sounds obvious. Very few people actually do it.
I’ve been fortunate to spend time with some very wealthy people and some very poor people, and here’s what I’ve noticed: both of them say what they think. It’s the people in the middle who are afraid to talk. Afraid they won’t be invited to the next braai. Afraid their friends won’t like it. Afraid of what the boss will say, or that they’ll lose the business deal. So they never form an opinion at all.
Our political parties, our corporations and our government departments are full of people stuck in that middle — always guessing what they’re supposed to say rather than saying what they think.
For an architect this matters enormously. Clients don’t pay us to reflect their own uncertainty back at them. They pay for a considered point of view. Find the courage. If things go wrong, you’ll find a way. But have a voice.
4. Ask who “they” are
“What will they say?” — if I fail, if they see me dressed like that, if I’m seen with that person. Most of the time we’re not even aware we’re asking it. The script just runs quietly in the background.
So here’s an exercise. Sit down with your coffee and write down who “they” actually are. Just the top three names. Then ask yourself honestly: if those three people disapproved of how I trim my nails, or the dent in my bakkie, or who I had a drink with — would I really be that upset?
The truth is people aren’t thinking about you much at all. They’re worried about getting to the end of the month and paying their own bills. But left uninterrogated, that “what will they say?” ghost creates a low-grade anxiety that leads to poor decisions — in business, in relationships and in life. Name the ghost, and it tends to disappear.
5. Be unreasonable (sometimes)

I don’t mean be rude, or obnoxious, or an idiot. I mean that “being reasonable” only uses one part of your brain — the conscious, rational part that can follow its own thinking step by step. It’s a small part of your total capacity.
The rest of your brain is doing extraordinarily intelligent things you’re not aware of. It keeps your heart beating. It runs your pancreas (wherever that is). And every now and then it sends up a feeling — a hunch, an urge, an idea that the sensible “primary school” part of your mind immediately dismisses as unreasonable.
In design, some of the best moves start exactly that way. Set yourself guard rails, by all means. But don’t let the reasonable voice overrule you every time. If you’re not ready to act on the unreasonable suggestion, at least start by listening to it.
6. You will not succeed 100% of the time
Everybody knows this. And yet when we fail, there’s still a voice somewhere deep inside that beats us up for it.
Think of the most capable people you can name. How many rockets did SpaceX blow up before one landed? Maradona was the greatest footballer of all time and still handled the ball now and then. Even the God of the Sunday-school Bible, in that wonderful metaphor, made Adam, realised he was lonely, and had to try again.
None of them would gain anything by beating themselves up. Neither will you.
In fact, if you are succeeding 100% of the time, it’s a warning sign. It means you’re not attempting anything that could possibly fail — and that means you’re not trying hard enough. Every project worth doing carries the risk of getting something wrong.
7. An expectation is a prophecy

You’re not entitled to anything. Not the car, not the house, not even tomorrow. A tsunami could wash it all away.
That sounds harsh, but it’s actually liberating, because most of what upsets us isn’t reality — it’s the gap between reality and what we expected. We expected to be married with three children by thirty. We expected the degree to lead to a job. We expected the road not to have a pothole that would wreck the suspension, the refuse to be collected, nobody to pick our pocket.
An expectation is really a prophecy: a little story we tell ourselves about a future without potholes, pickpockets or a bad economy. And when the world doesn’t follow the script, we’re miserable.
You can’t control the economy or the municipality. You can control whether you make prophecies. In thirty years of dealing with planning departments, contractors and budgets, I’ve found that letting go of entitlement is one of the most practical things you can do — for your projects and for yourself.
8. Adaptability is a superpower
You are not a tree. You can move. You can try new things, eat new things, change direction. That ability to adapt — to experiment, get feedback from the world and adjust — is what sets our species apart.
Yet we’re quick to criticise people who change course, whether it’s a colleague who switches careers or a public figure who changes parties. I suspect much of that criticism is envy: we haven’t given ourselves permission to change. Nobody has to stay in the same profession, or the same job, or the same way of doing things for their whole life. The feudal system wanted peasants to believe they could never be anything else. We don’t have to believe that story.
Our profession is changing fast right now. The architects who thrive will be the ones who treat change as an experiment rather than a threat. You may succeed, you may fail — but you’ll learn which way to go.
Thirty years on
Looking back, very little of what has made a difference in my career came from technical knowledge alone. It came from knowing what I wanted, saying what I thought, not worrying too much about “them,” trusting the odd unreasonable idea, forgiving myself the failures, letting go of expectations, staying willing to change — and filing things properly so the rest of the team could find them.
If any of these resonate with you, or if you’ve learnt different lessons from your own years in practice, I’d love to hear them.
Tim Hewitt-Coleman
Director, noh Architects
Gqeberha, Eastern Cape

